
Plan Tab
Once you have created your audience on the 'Audience tab' and selected the media on the 'Media tab', you will then be able to access the 'Plan tab' to start building your media plan.
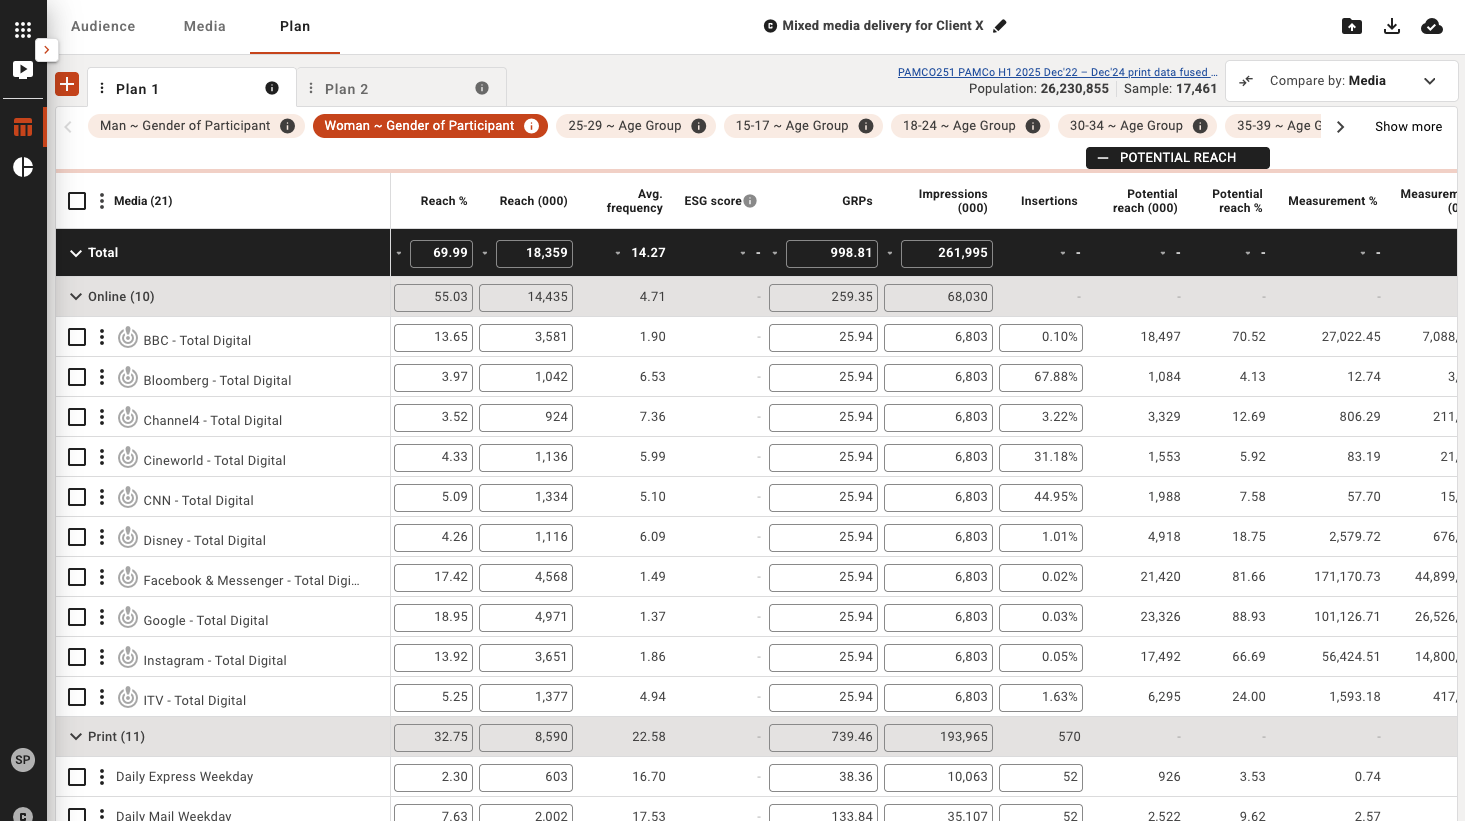
Understanding the Plan view
Plan Tabs

By default you have 1 plan to get started with. You can create multiple plan tabs to compare against each other. Use the + button to quickly add a new plan or click the 3 dots next to Plan to duplicate, rename or remove a plan.
Target Size

Provides you the universe size of your selected target audience, includes # of projected population and # of study respondents sample size.
Target Audiences

The highlighted audience is your current plan delivery, you can toggle between audiences and the metrics will change depending on the audience you have selected. You can always add or edit your audiences in the 'Audience' tab at anytime.
Totals

There is a total row in the plan table which combines all media reach/frequencies for a total plan delivery, and you can also see totals across the media categories. These sections can be expanded or collpased by using the arrows on the left of the row to open and shut the media category group view.
You can also sort the column metrics by clicking the arrow icon next to the total column you want to sort by ascending to descending.

Default Metrics
When you first enter the Planning Module the default columns will show:
- Reach %: The number of people exposed to the schedule at least once, shown as a percentage of the target audience
- Reach (000): The number of people in the target audience (shown in units of 1000) exposed to a schedule at least once
- Avg. Freq.: The average number of times each person is exposed to the media schedule
- ESG score: The ESG score shows how an organization is managing risks and opportunities related to environmental, social, and governance criteria. Note: This is an add-on module available in plan and applies to surveys and studies with ESG data available.
- GRPs: Gross Rating Points - The sum of the ratings for a schedule
- Impressions (000): The total number of exposures of a target audience to a schedule regardless of the number of times one person is exposed
- Insertions: Insertions (Print) / Spots (TV, Radio)
- Survey: Survey code/s from where media vehicle is defined
- Potential Reach (000): The max number of people in a target audience who can be reached by the selected media
- Potential Reach %: The max number of people who can be reached by the selected media, shown as a percentage of the target audience
- Measurement %: The percentage of Measurement 000, that your target audience represents eg Ratings (TV), Readership % (Print)
- Measurement (000): The number of people in a target audience who have seen a single (or average) issue of a publication/media vehicle (Non-digital media). The number Page Views/Impressions for a given media vehicle (Digital media). See Measurement Basis
- Measurement basis: Indicates the basis for the Measurement 000 calculation
Adding and removing metrics
You can add and remove columns by using the Media table 3 dots menu:
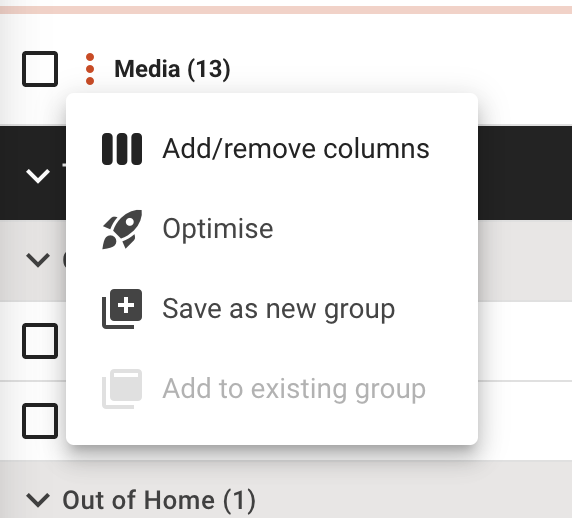
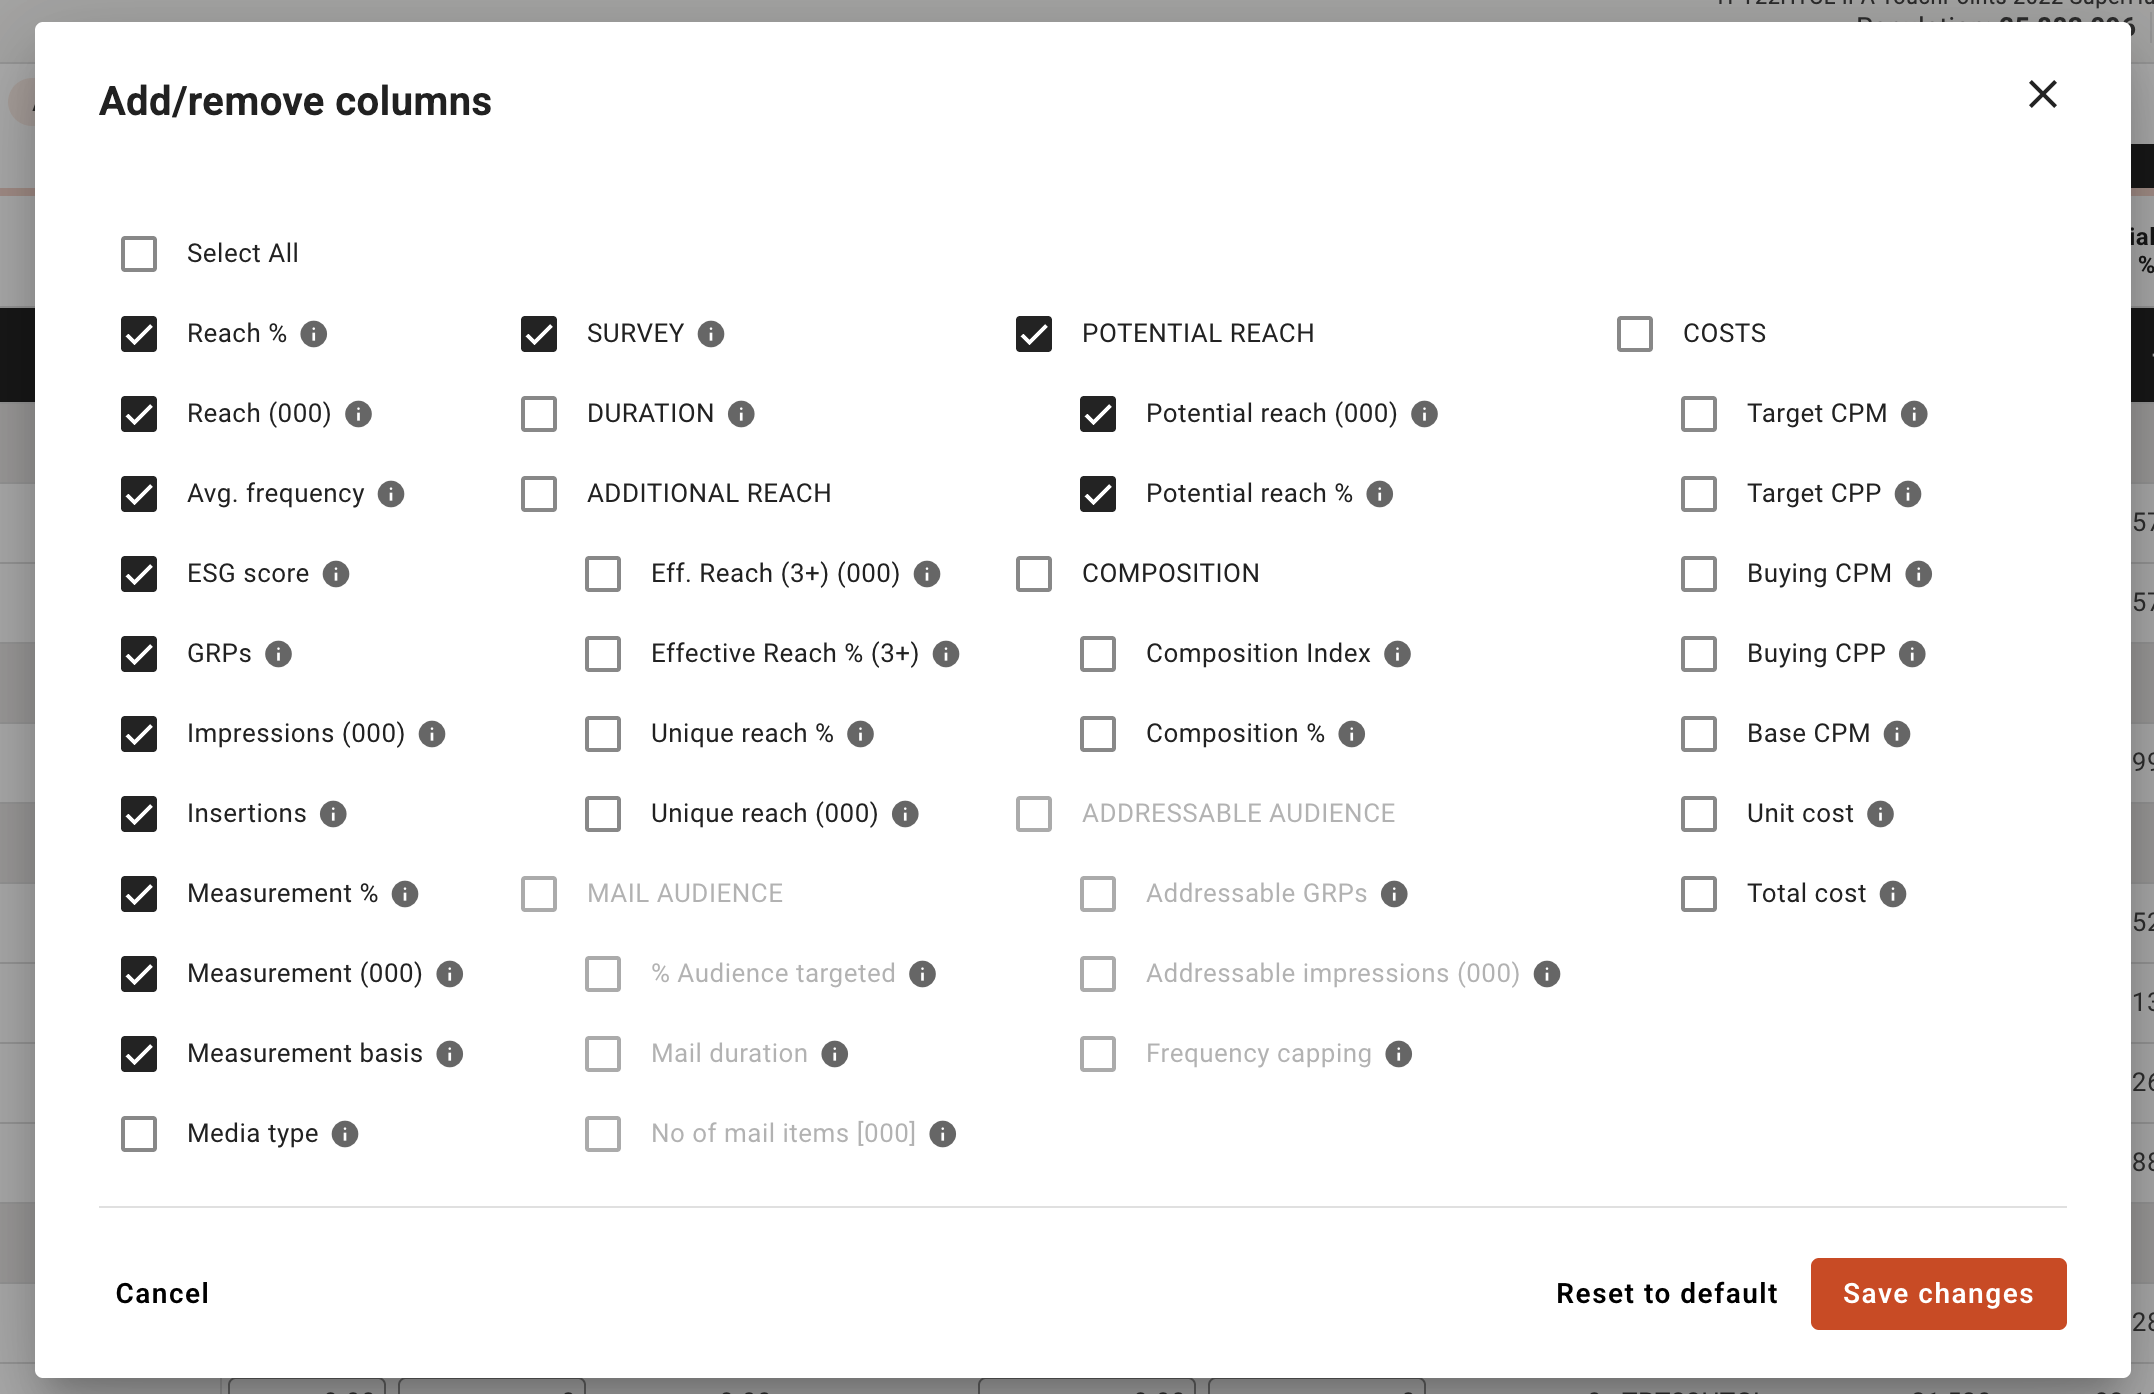
If you select 'add/remove' columns you can choose the active columns you would like to see in your plans, please note the column selection will be applicable across all the plans in the campaign you are working on. Some column selection items might be disabled as media in your plan might not use those metric attributes or some items such as ESG might be disabled as you are not subscribed to that add-on as part of your plan subscription.
Next to each metric there is an info tool tip which will explain that metric to you.
Compare by
You can switch views to understand and compare either media (default view), audiences, media or frequency by using the compare dropdown on the top right of the 'Plan' tab.
Tip: If you want to see different metrics in your comparison, you can add/remove them by clicking on the 3 dot icon next to metrics and select add/remove columns
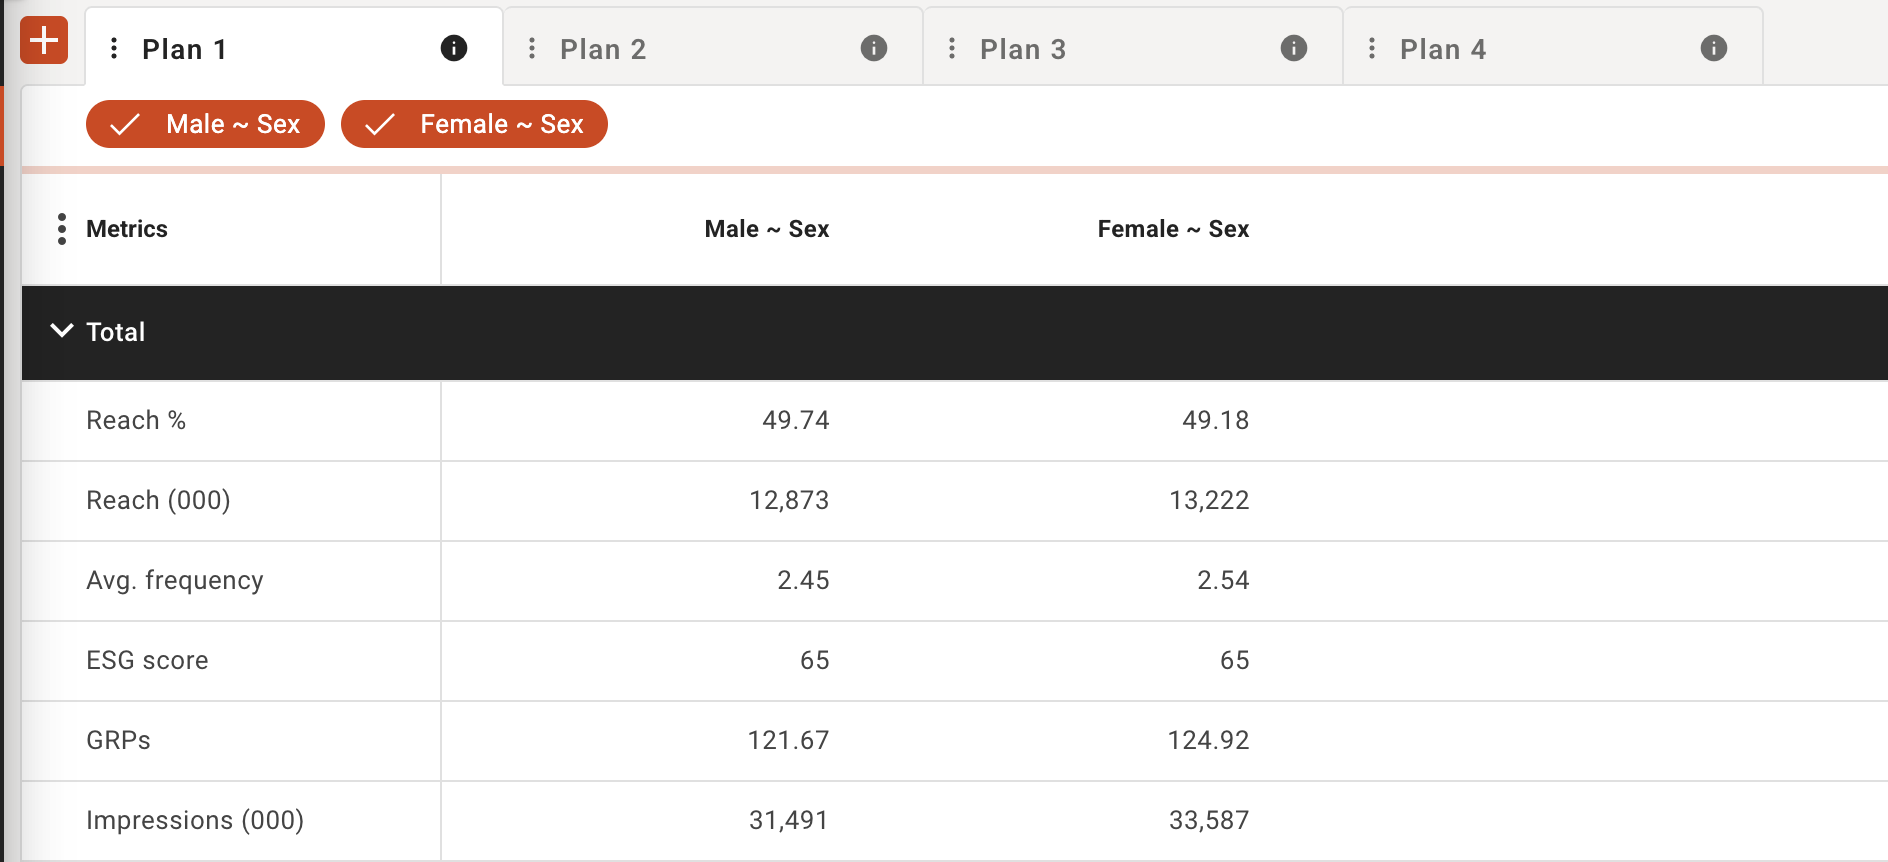
Compare by Audience
Your primary selected audience is shown by default, simply select the audiences in the top bar to add or remove them from the comparison view. In this example we are comparing 'male' and 'female' audiences across all media channels.
Note: In the compare an audience screen you can see different breakouts of data, combined overall data, data by media channel and you can also select to see delivery by individual media properties.
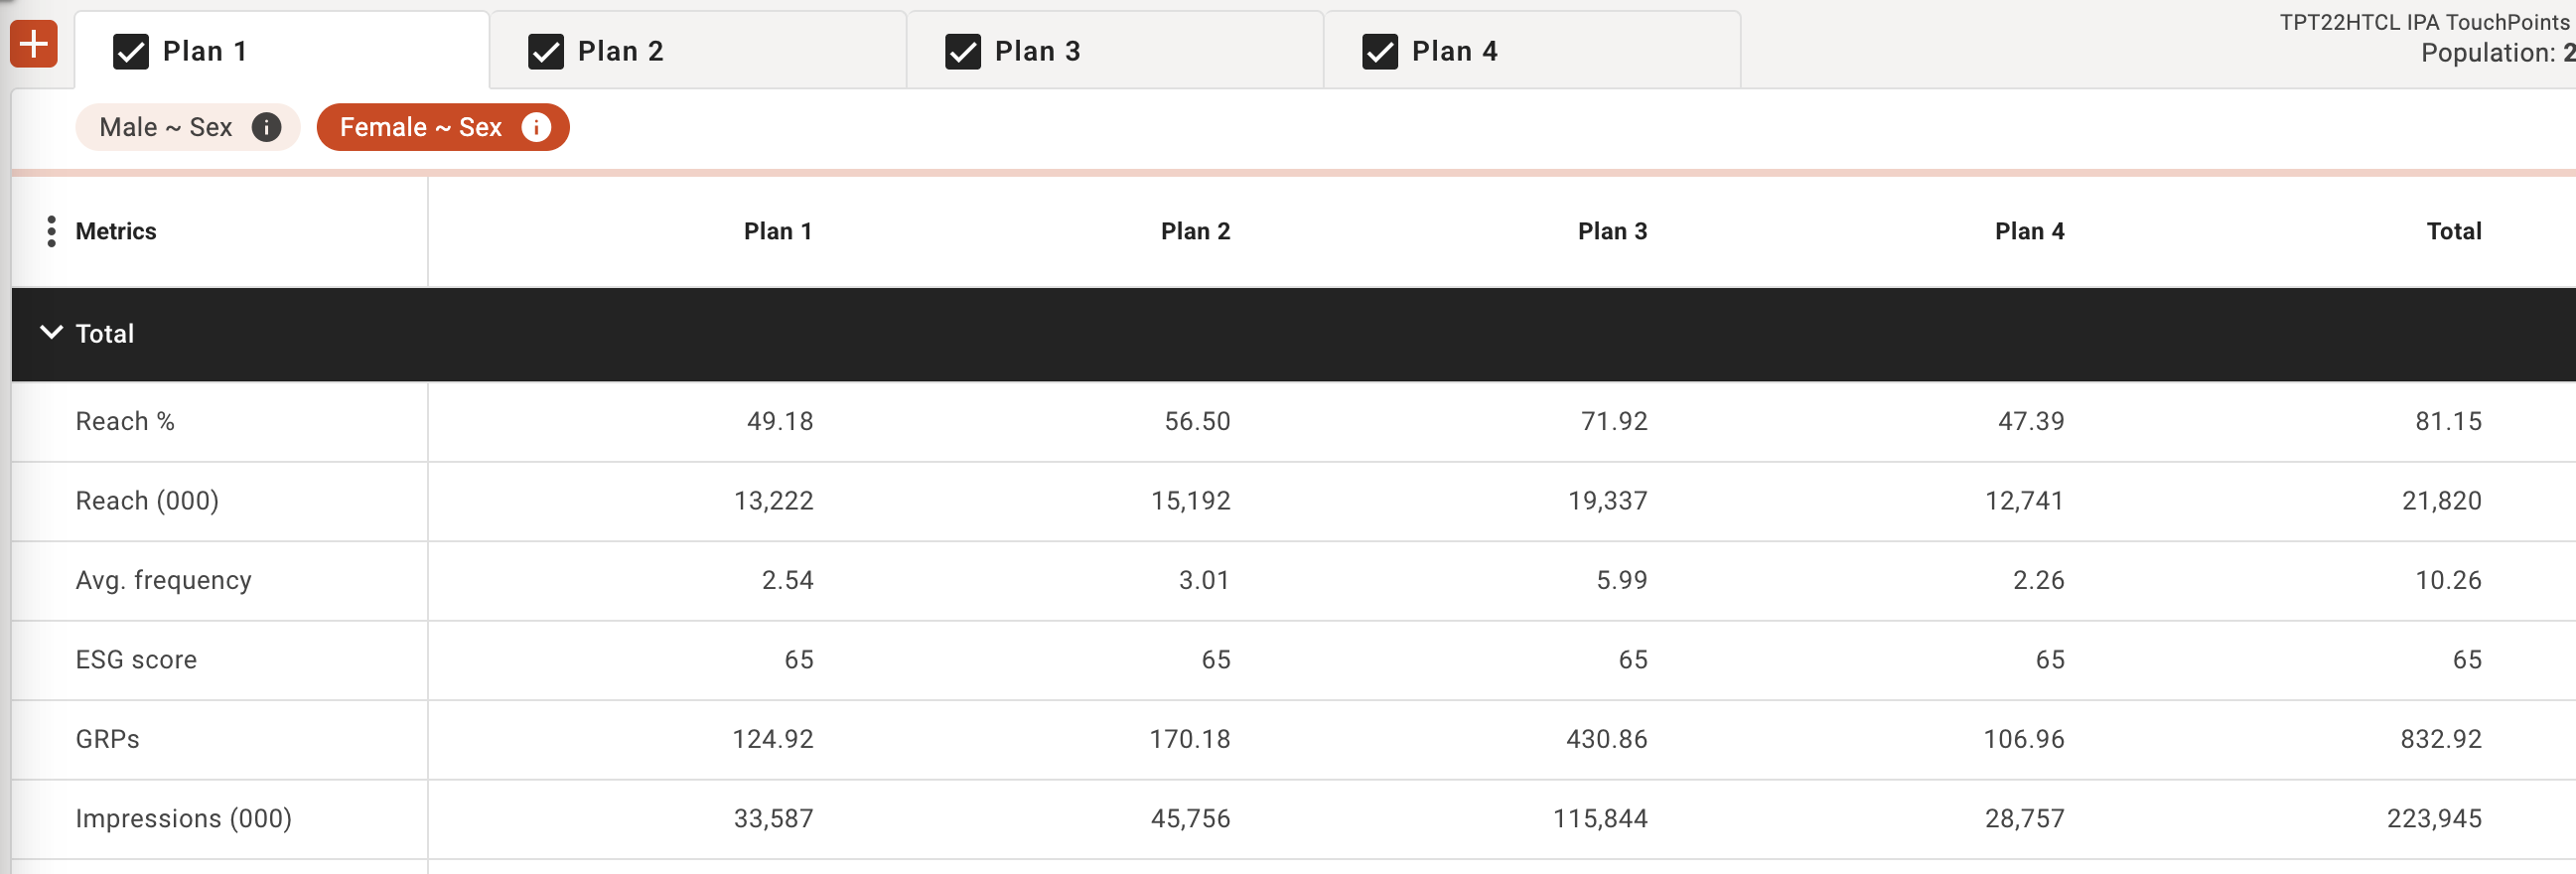
Compare by Plan
Your primary selected audience is shown by default, simply select the plans in the top bar to add or remove them from the comparison view. In this example we are comparing 'Plan 1' and 'Plan 2' and 'Plan 3' and 'Plan 4' audiences across all media channels for a 'Female' audience, I can also toggle audience to see how these plans work for the 'Male' audience simply by selecting the 'Male' audience in the top bar.
Tip: If you are planning by quarter, you can set up a plan tab for each quarter and then see how the total plan would deliver
Note: In the compare a plan screen you can see different breakouts of data, combined overall data, data by media channel and you can also select to see delivery by individual media properties.
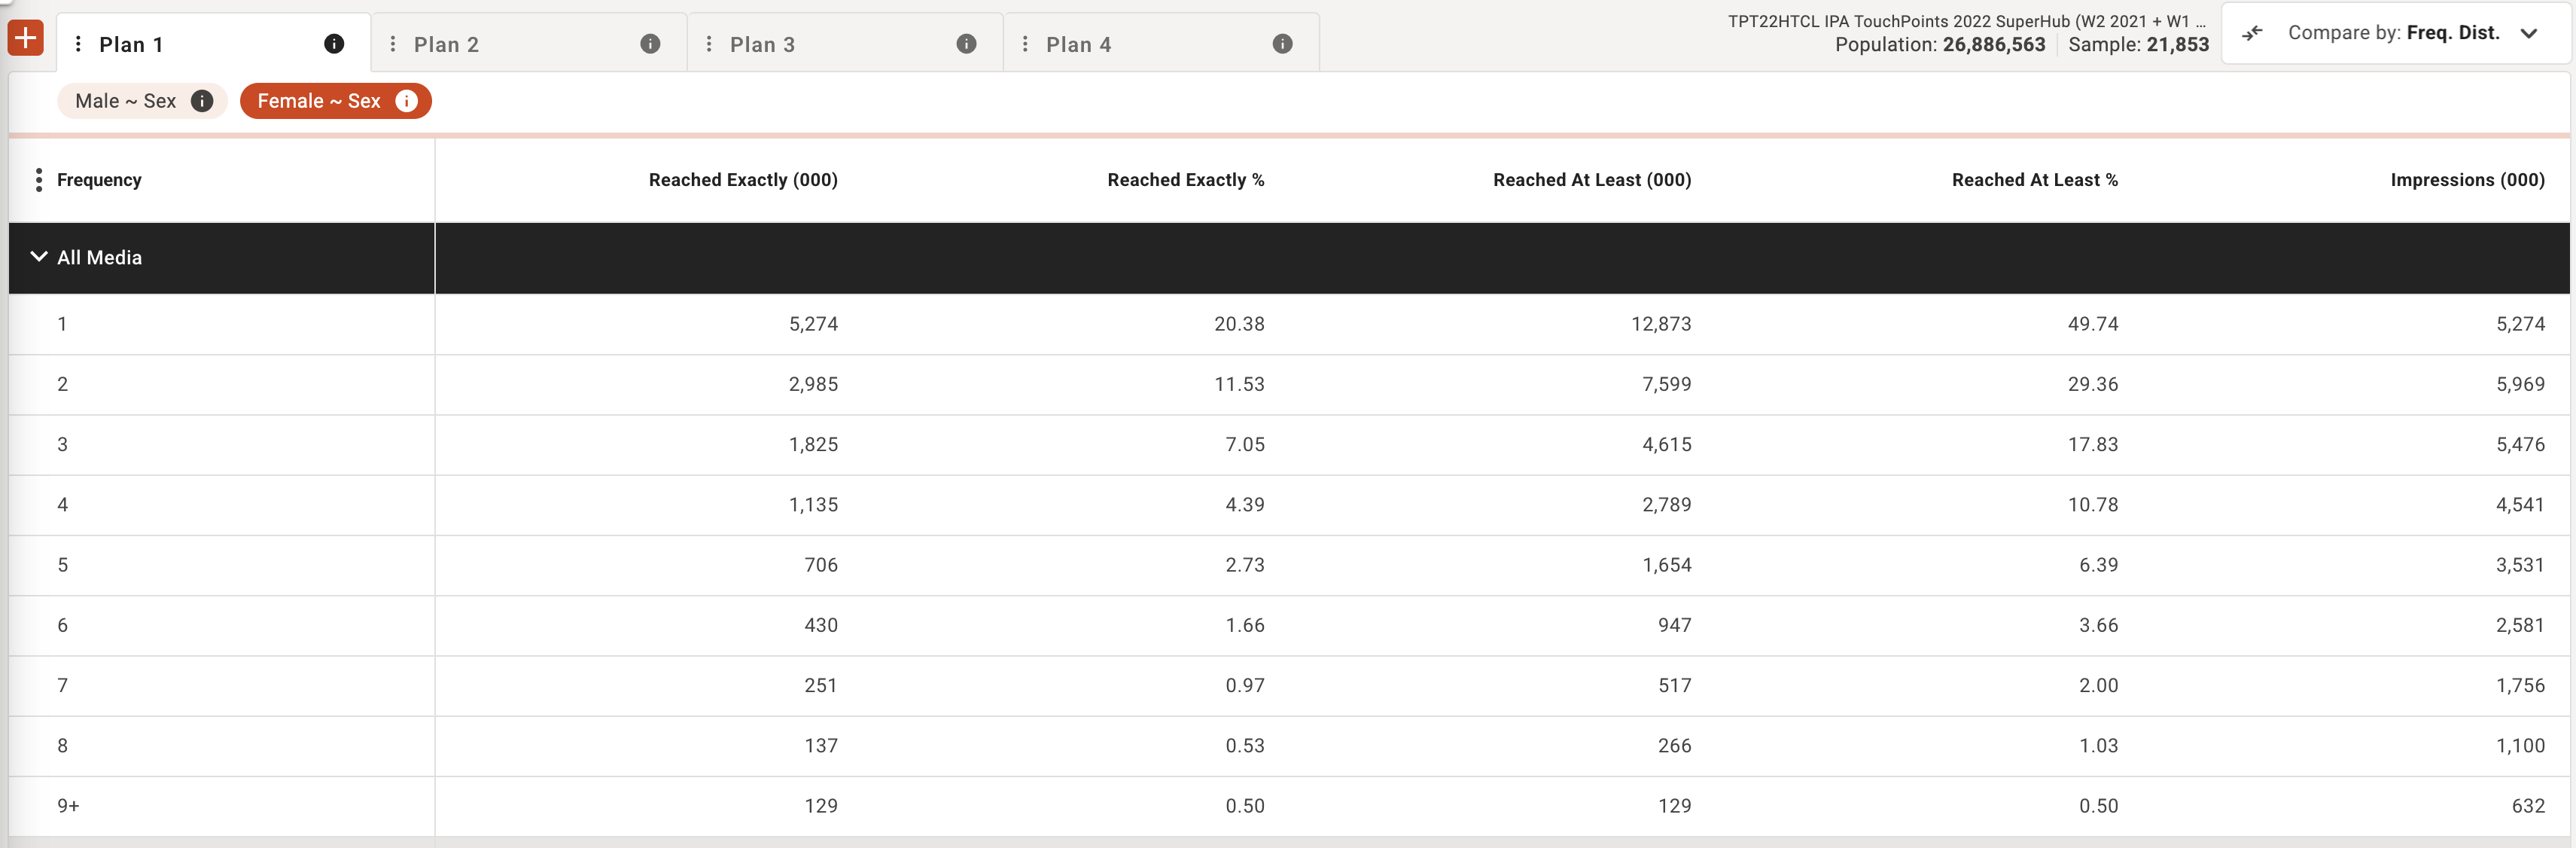
Compare by Frequency Distribution
Your primary selected audience and plan is shown by default, but you can select any audience and plan combination to see the frequency distribution across all media.
Note: You can see different breakouts of data, combined overall data and data by media channel
Creating a new group
You might want to create a new group which will remove the media vehicles from their natural media categories as defined in the survey data.
For example I might want to create a group of BBC channels using the group function to analysis them as a whole.
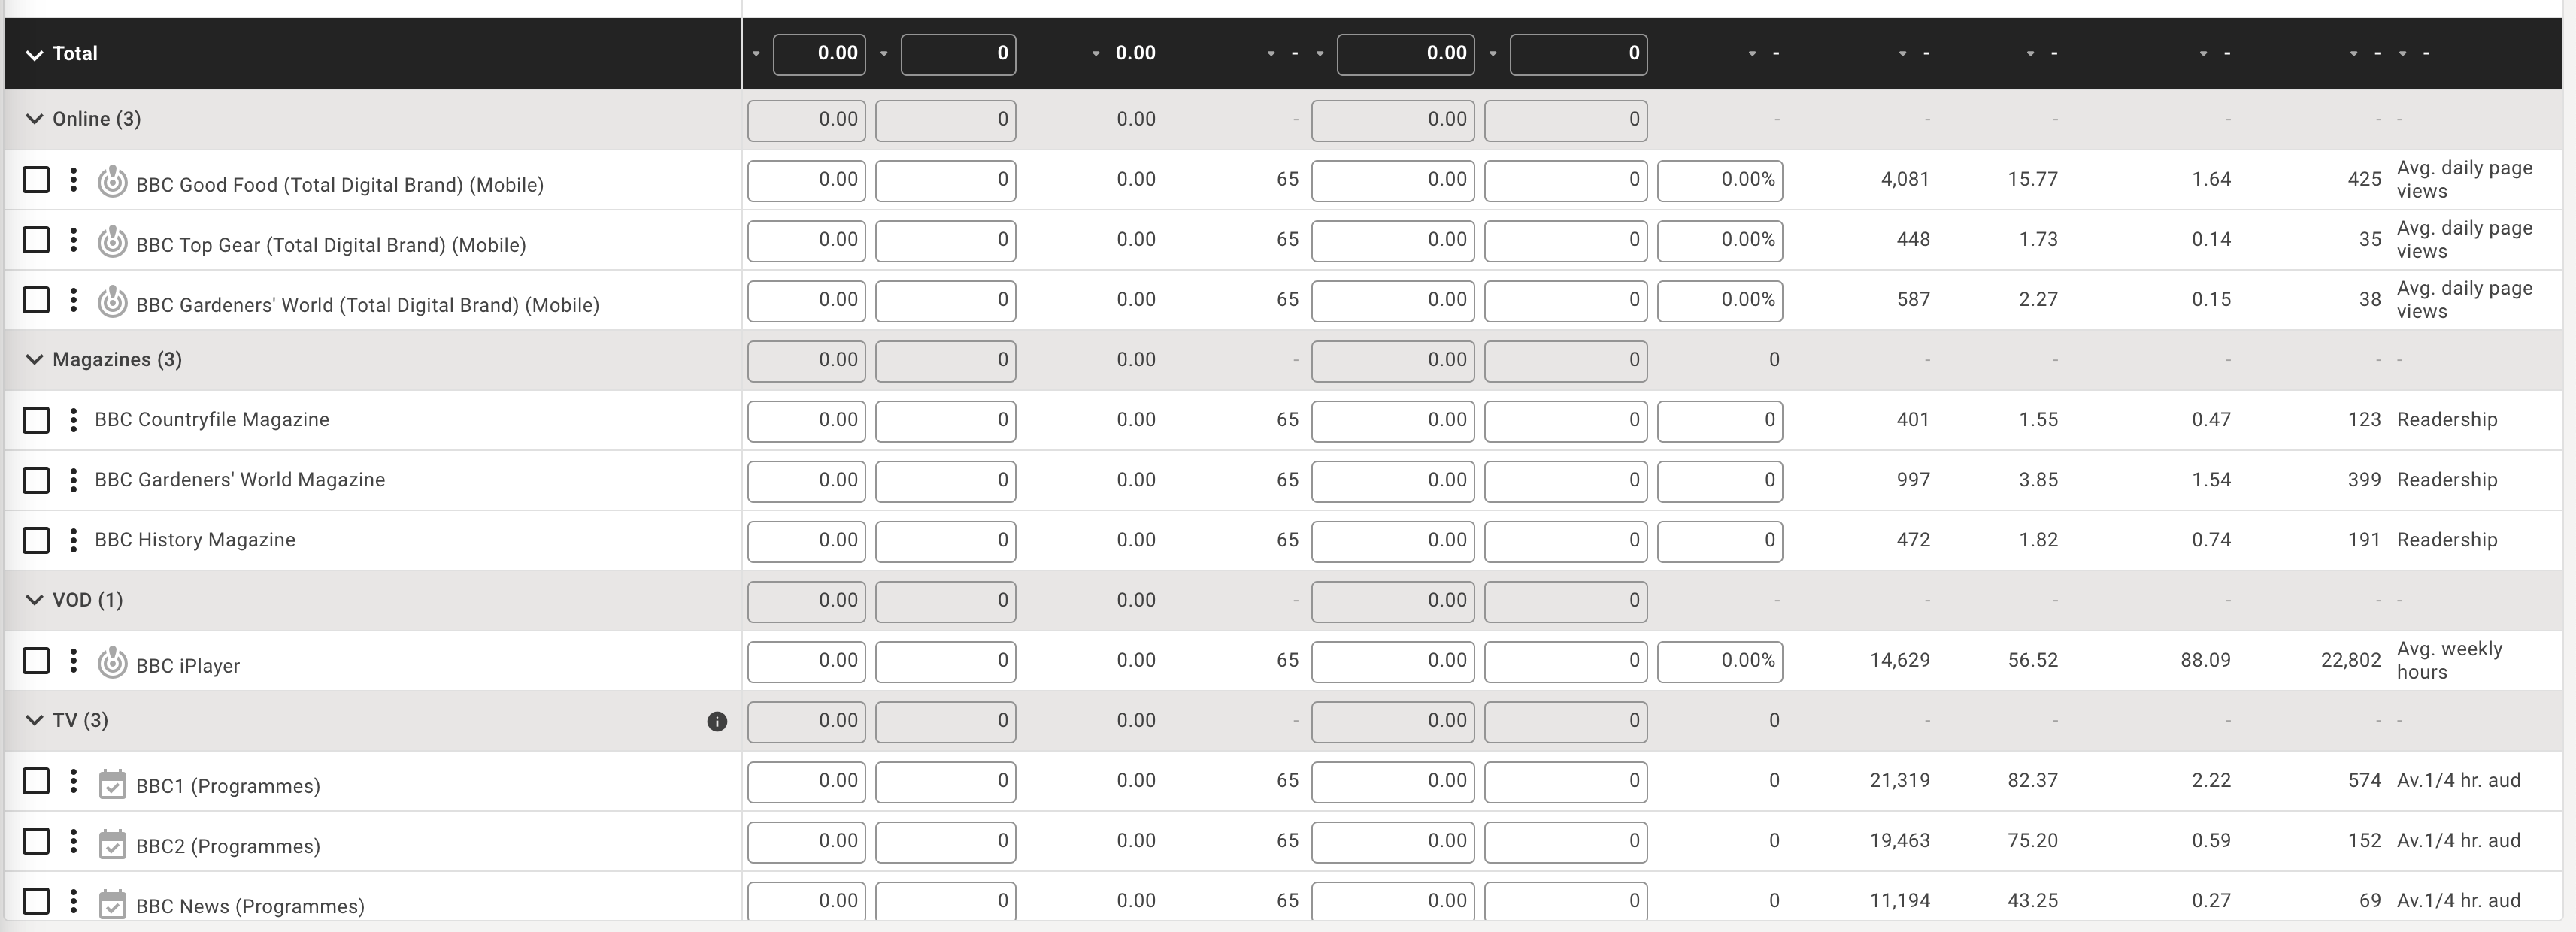
In this example above we can see BBC media vehicles are listed under media categories as defined by the survey data, such as Online, Magazines, VOD, TV etc.
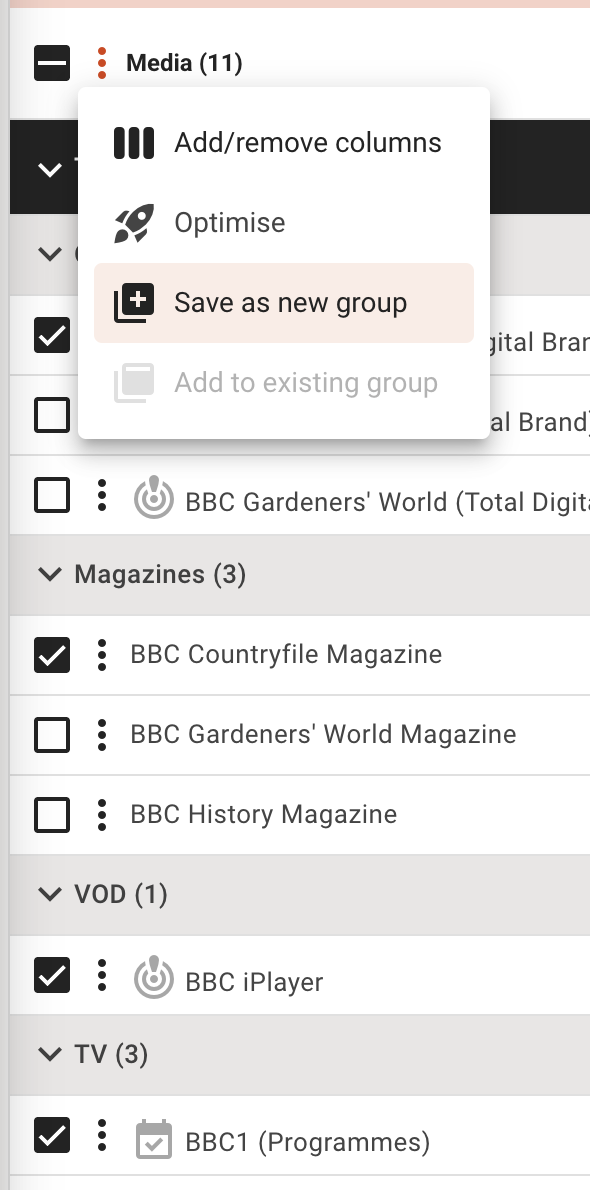
To create a 'BBC' group:
- I select the BBC items I want using the checkbox.
- Then I choose the media table 3 dots menu and choose the option 'Save as new group'
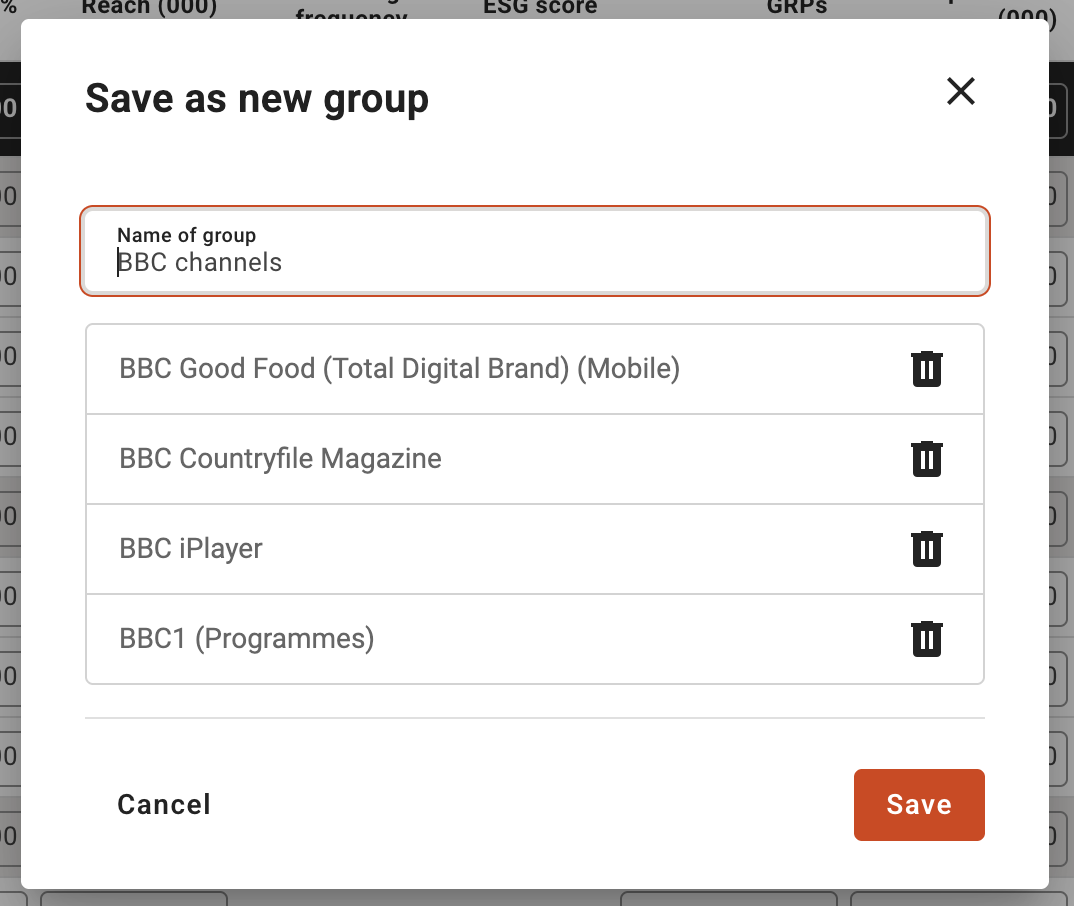
- The 'Save as new group' popup will appear, here you can save the 'name of the group' you want to create such as 'BBC channels' (this will appear as a new media category in your plan table view). You can review the items you are about to save, then press 'Save' to to create the group.
- Once the grouped is saved, you will see the group and the the contained media vehicles are now removed from their original category origins and assigned to the new group you created, e.g. BBC channels
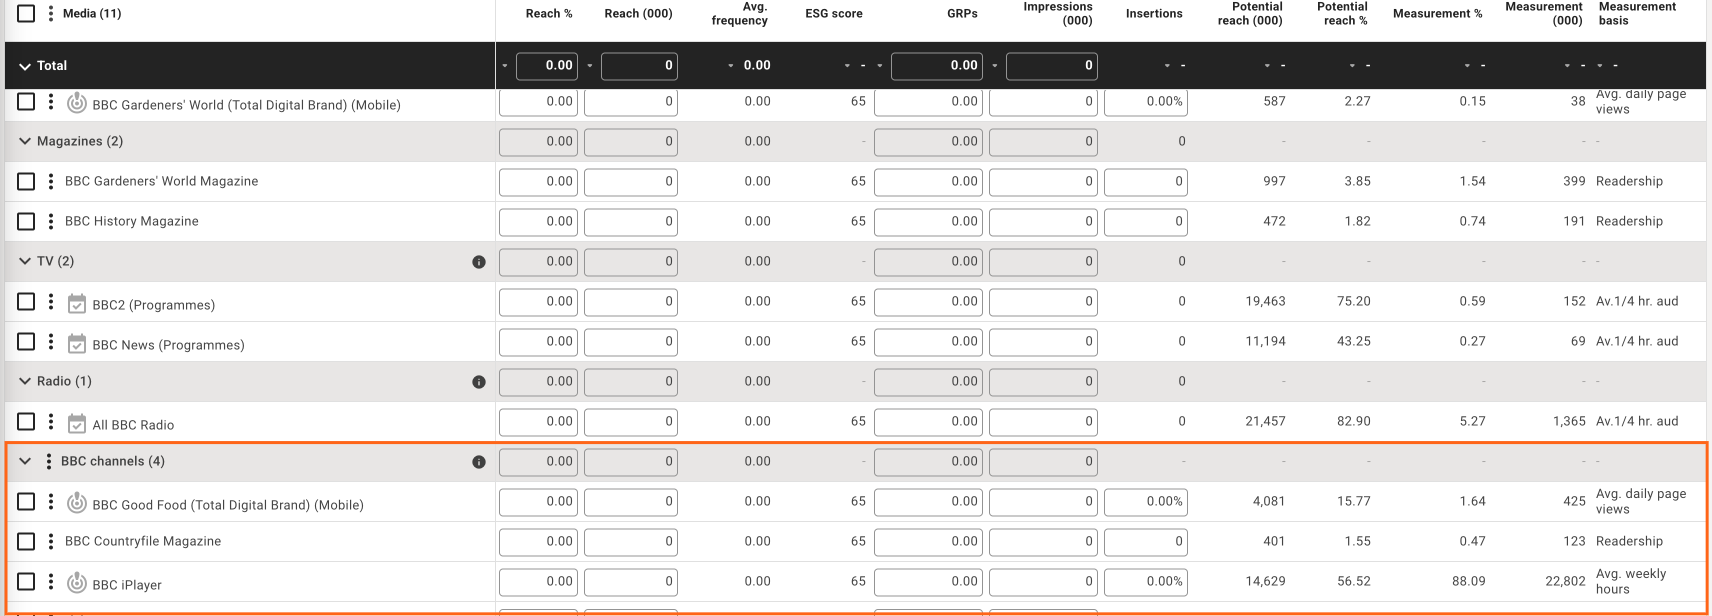
- You can now plan at the category group level for this combination.
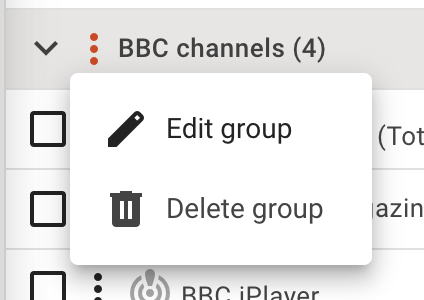
- At anytime you can edit or remove the group by clicking the 3 dots menu item next to the group name. If you remove the group all media vehicles will be returned to their original media category origin in the plan.
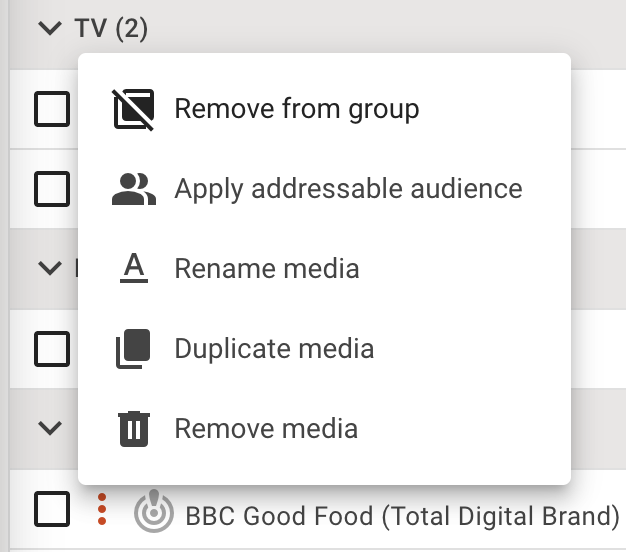
- Or you can remove individual items from the group by clicking the 3 dots menu item next to the media vehicle name, this will return the media vehicle to its original media category origin in the plan.
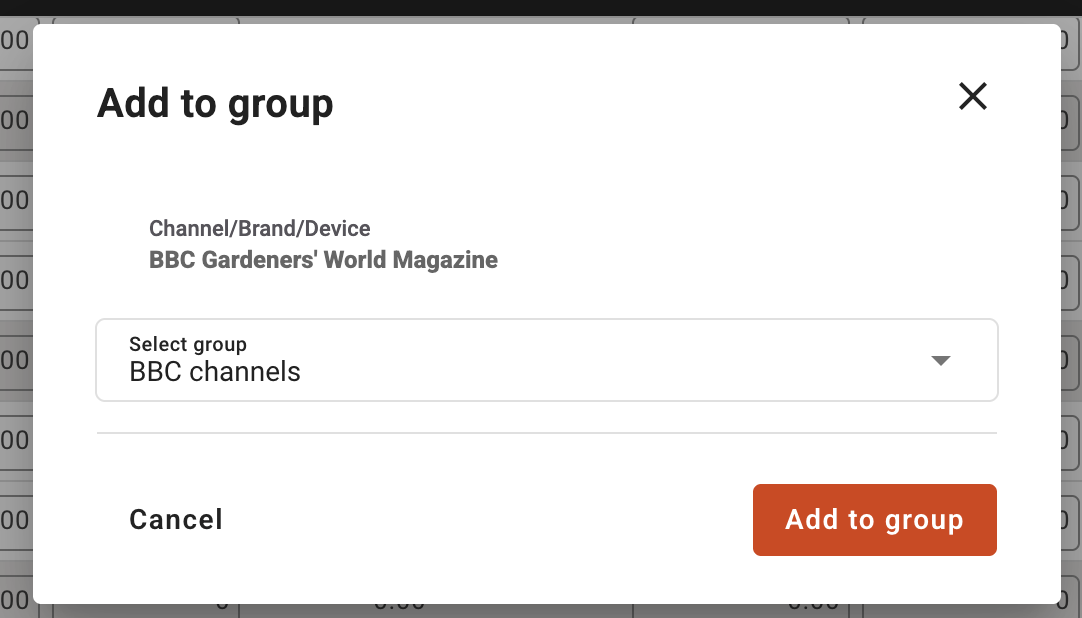
- If you want to add a missing vehicle to a group simply select the checkbox next to the media vehicle/s, then choose the media table 3 dots menu and choose the option 'Add to existing group' and you can add it to any of the groups you have created.
Managing media vehicles in the plan
Each media vehicle is nested under the associated media category it is assigned to, as defined in the survey data. You can manage the media vehicles in your plan using the 3 dots menu next to each media vehicle. You can also add and remove media vehicles by going to the 'Media' tab at anytime to update your media planning vehicles.
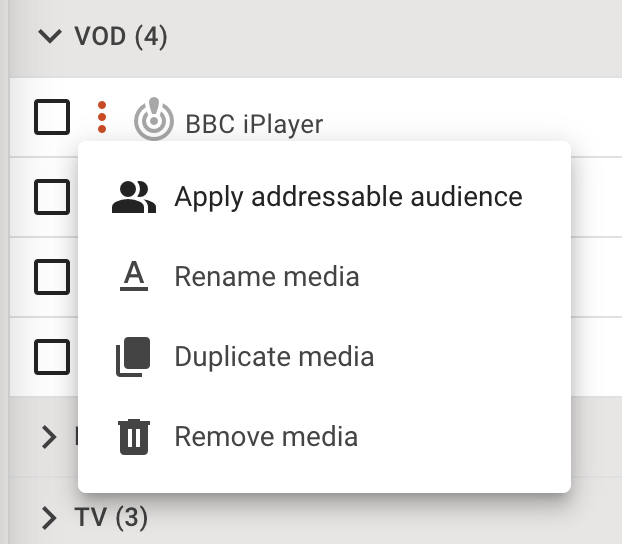
In the media vehicle menu you will see the following options:
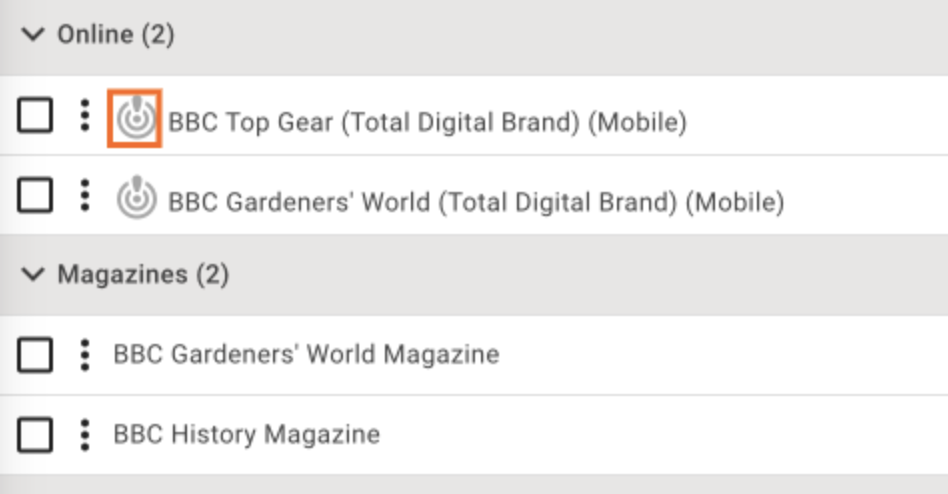
- Apply addressable media (this only appears if the media vehicle is defined as addressable and this is shown by the 'addressable' icon next to the media vehicle): In the example below we can see the addressable icon is next to 'BBC Top Gear' and 'BBC Gardeners' world' as online content, whereas 'BBC Gardeners' world magazine' and 'BBC History Magazine' are not addressbale as they are print magazines. You can learn more about the specific Addressable function here: https://helpdesk.telmarhelixa.com/en/article/addressable-media
- Rename media: You may want to rename media to simplify it or create a 'proxy'. A "proxy" refers to a person or thing acting as a substitute or representative for another, so for example my survey data includes the media vehicle 'Whatsapp' but not 'Wechat', if I deemed the data comparable I could rename the 'Whatsapp' media vehicle to 'WeChat', so I can measure media vehicles of similar case using proxied data.
In this case I have renamed 'BBC Gardeners' World (Total Digital Brand) (Mobile)' to a similar magazine not in my data called 'Good homes gardening magazine'. But when I hover over this renamed media vehicle in my plan I can always see the original media vehicle origin.

- Duplicate media: Duplicating media is useful if
- I want to play about with metrics for the same media in the same plan, but be aware there will be deduplication in the media category total.
- I want to create a duplicate proxy, I want to copy 'BBC Gardeners' World (Total Digital Brand) (Mobile)' and rename it 'Good homes gardening magazine' so I can see how similar media types would perform or impact my media category strategy.
- I want to have a copy of 'BBC Gardeners' World (Total Digital Brand) (Mobile)' under the Online category and I want to duplicate it and move it to a group I create called 'BBC brands' to see how those media category groups compare.
- Remove media: This will remove the media from ALL your plans and from your media tab builder, to add media you will need to re-add this via the 'Media' tab
Optimising your plan delivery
How does Optimiser work?
The goals and restrictions of the optimisation may differ being either reach, ratings or costs as well as splits by media type. The Plan optimiser takes as input all vehicles selected by the user and uses the respondent level data to create a best reach schedule for any goal and adhering to splits and other constraints. More specifically, the best reach for a given cost. In absence of costs, ratings are used instead ensuring best reach for any given rating.
The process is a hill climbing algorithm where at each step the next vehicle is chosen based on the best additional reach it would add to the current schedule. This approach takes into account cross duplication of all vehicles at a respondent level. There is a general approach to the respondent reach estimation for speed concerns as different media require different R&F models. However, we regularly calibrate the reach during optimisation to account for any differences.
There are some caveats in planning a combination of different media types, as each may be measured and sold differently at times. For example, probability versus pageviews and sold as spots versus GRP’s or impressions. In this case, there is an approach to bring both to a common denominator of purchase such as GRP’s. We are constantly researching and making improvements as optimisation algorithms should always be optimised itself.
By default all plan delivery is set to 'natural delivery', you can choose to optimise a plan with specific constraints across specific media to see an optimised delivery plan.
Creating a Plan with the optimiser
- Click the Media table 3 dots menu and select 'Optimise'
- This will launch the Optimise popup
Defining an optimisation strategy
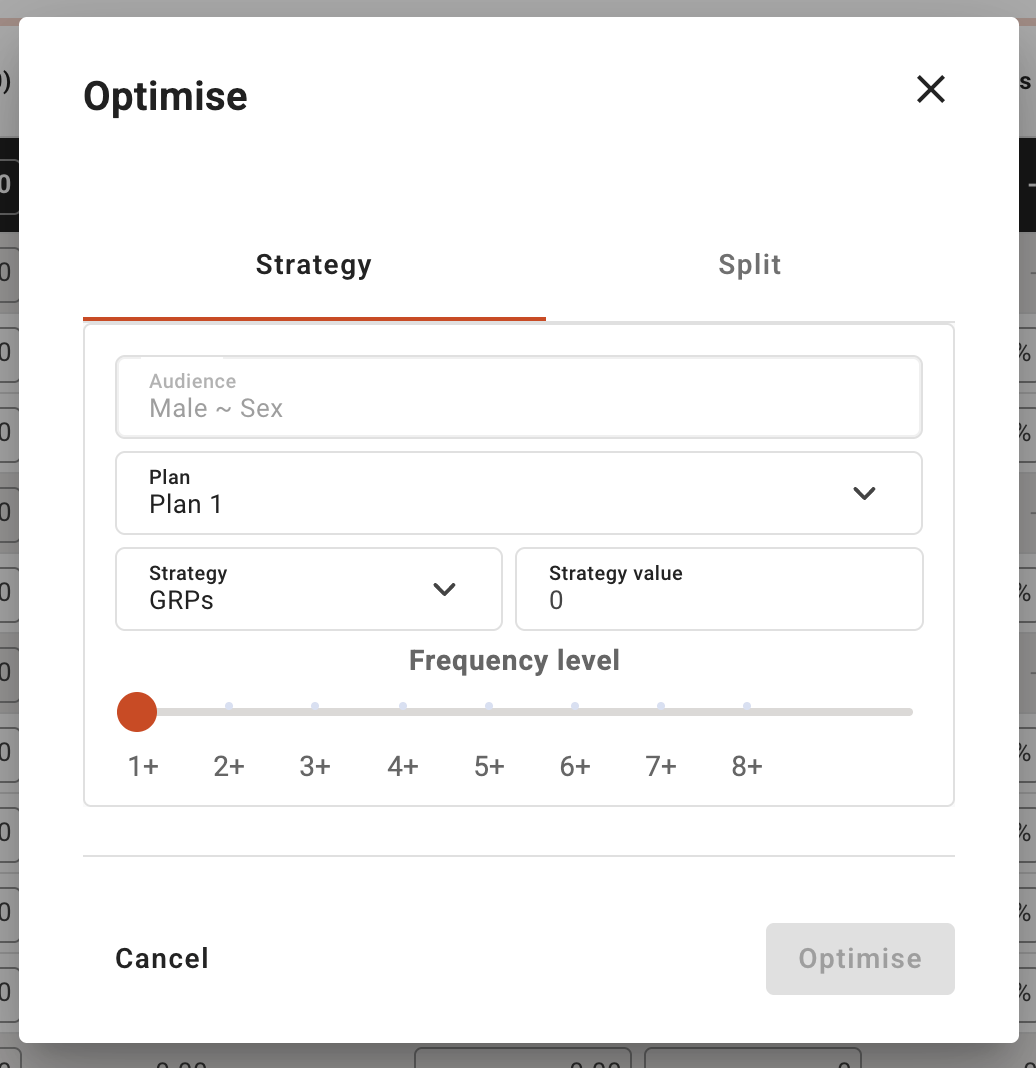
- First you should define your strategy under the 'Strategy' tab by defining:
- Which plan you want to optimise, or you can create a new plan via this option.
Note: only 1 plan can be optimised at a time based on a singular audience. - Choose your strategy:
- GRP's
- Impressions (000)
- Reach (%)
- Average Frequency
- Budget ( this option is enabled if costs are defined in the survey)
- Strategy value would then need to be defined, e.g. I would like to get 70% reach
- You can then define the Frequency level of the optimised media
- Once you have defined these options, you can go direct to optimise by clicking the 'optimise' button, or you can make more refinement by going to the 'Split' tab.
- Which plan you want to optimise, or you can create a new plan via this option.
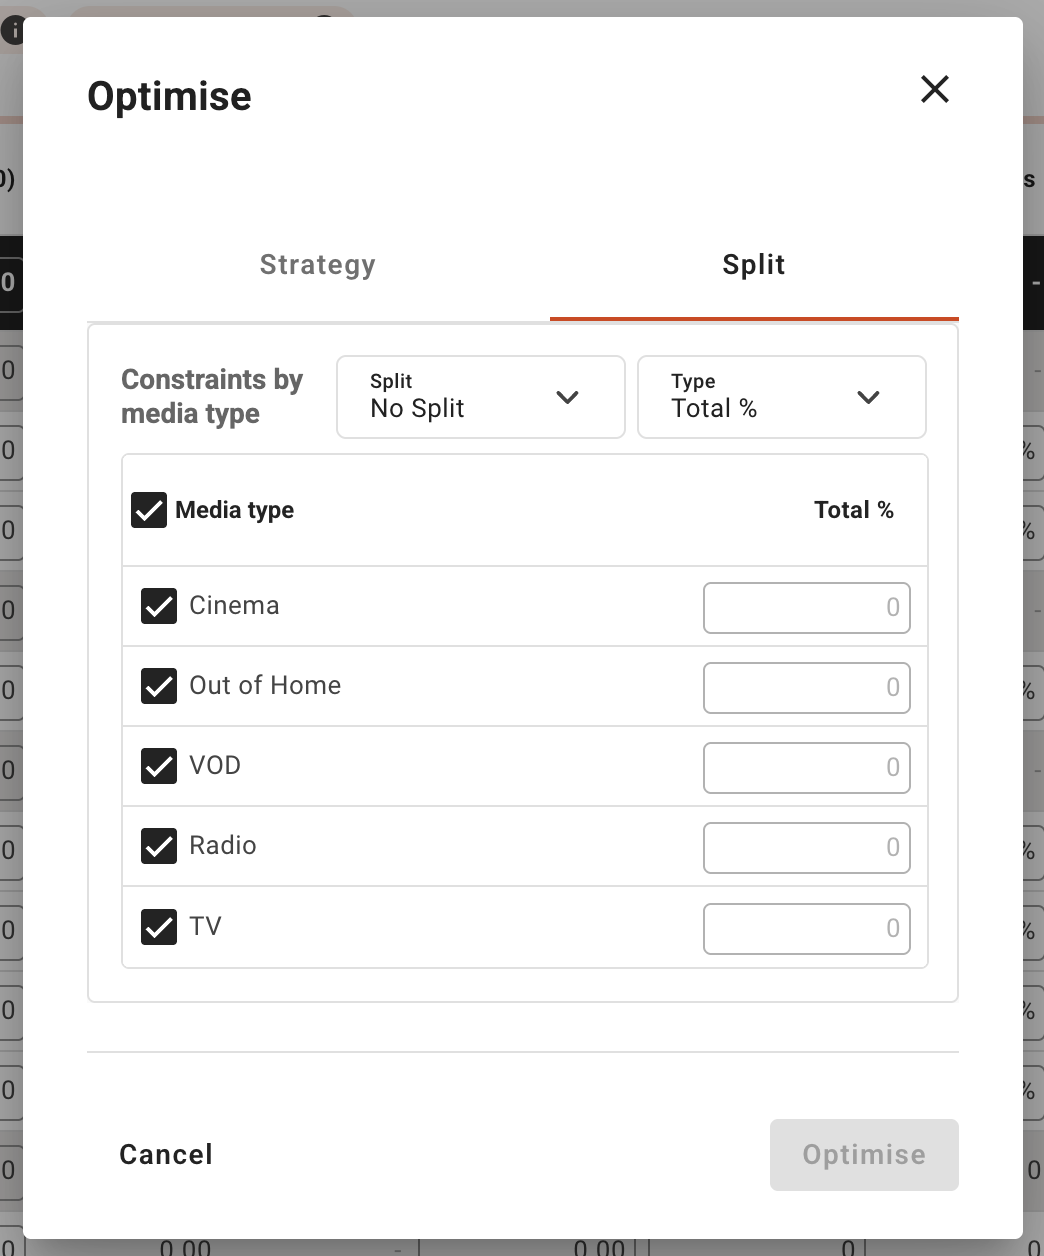
Defining an optimisation split
- In the 'Split' tab you can define any constraints across the media types, for example you might want to apply 30% to cinema and 60% to VOD as you know that channel has more impact or is a requirement as part of the campaign brief.
You can define your split optimisation with metrics of either:- Impressions
- Budget
- GRPs
Set to: - Total %
- Total Min %
- Total Max %
- Actual
- If you choose to apply spilts you can then go to optimise by clicking the 'optimise' button and the plan will start optimising.
- Plans which have optimised delivery applied will be flagged with (optimised) added automatically to the plan title.
- If you then manually edit a metric in that plan the (optimised) flag will be removed as you have done a manual overide.
